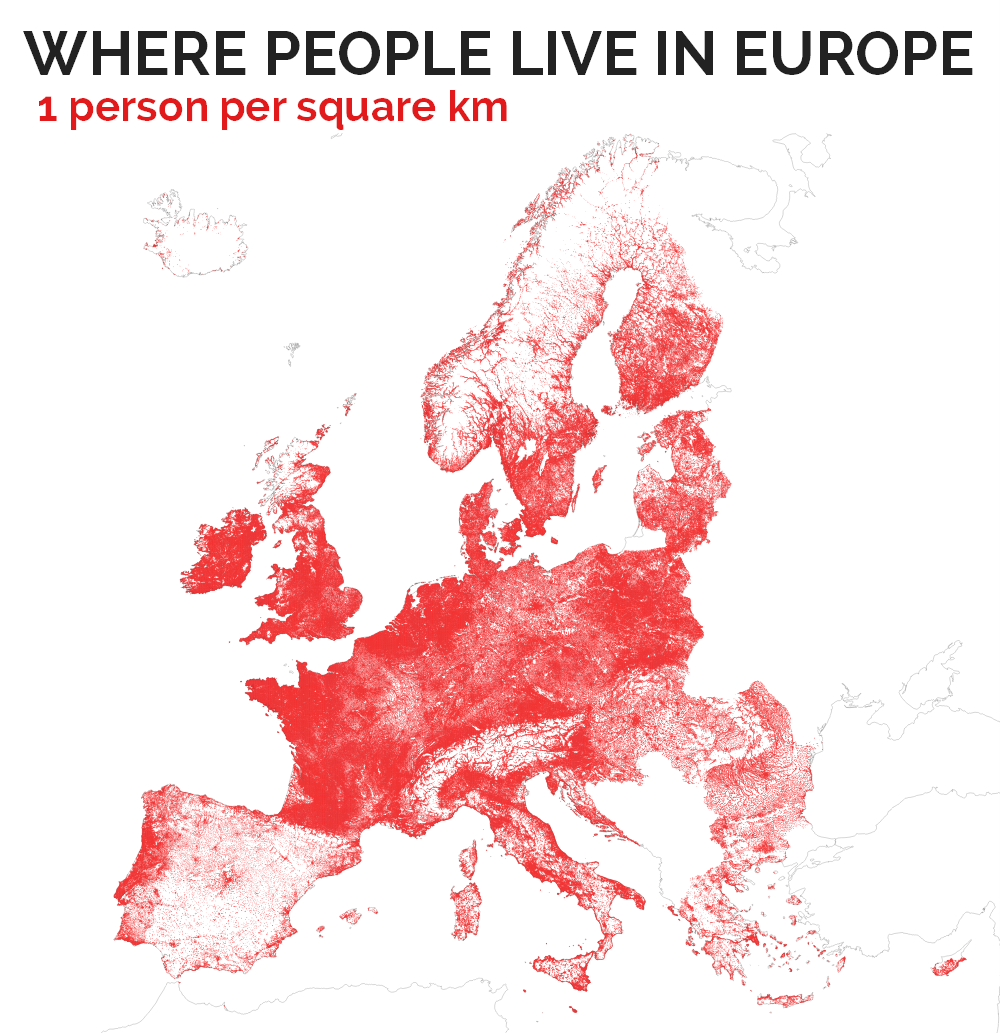
Back in October I said I'd do a write up of the workflow for creating a geogif, so here it is (and now I've fixed some errors in the original post, see update at end). I've done quite a few of these over the past few years, including ones of the 2017 UK general election, house prices in England and Wales since 1996, commuting in Greater Manchester and US gun homicides. My favourite is one of the coastline of Skye, though that was just for fun. But sometimes a geogif can be quite useful at telling the story of data quickly, particularly online (I think the general election one does this quite well). Here's the end result of the workflow described below - a geogif of the population of US states in 2017. All of the content (maps, QGIS project files, gifs, shapefiles) can be downloaded here.
 |
| Click for full size - 1200ms per frame, 1 minute in total |
I'm going to assume that if you are following this then you have at least some knowledge of QGIS, but if not then you can probably read my previous posts on the QGIS Atlas tool to help you. But this is definitely aimed at people with existing knowledge of QGIS.
I've packaged up the QGIS project (.qgs file) and the individual shapefile layers I used to create the gif above. You can download them here and then just open the project to see what's going on 'under the hood'. If you open this project (us_state_pop_2017_red_fixed.qgs), you'll see that I've used three layers, as follows:
- One layer is just a light grey states background;
- One layer is for the darker grey states that appear sequentially in the gif; and
- One layer (a duplicate of the darker grey layer) is for the red highlighted states, to give it a more dynamic animated look.
For the dark grey layer I've used a rule to style it, which means that it will show the currently active QGIS atlas feature, plus all previous ones: $id <= $atlasfeatureid. It was suggested to me on StackExchange by Ian Turton as a simple way of achieving this effect.
The red layer is similar, but the rule on this layer is $id = $atlasfeatureid, which means that it basically highlights only the current atlas feature as the Atlas iterates through each feature (note that in the new, updated QGIS project files I have used the new Atlas syntax, which is explained below).
 |
| Where you set the layer style rules I describe above |
When you go to the Print Composer in the project I've shared above, you will not actually see anything much until you activate the Atlas by clicking the Atlas button, as shown below.
 |
| Notice the Item Properties in the white box to the right |
In the final version of the layout, once the Atlas has been activated, you can see from the Item Properties box on the right what I have used to add values from the layers the project is based on. Basically, I've added in fields and some text, as you can see from the images below.
 |
| This one adds a number and state name, plus a dot and a space |
 |
| This takes the population, divides it by the 2017 US population |
 |
| This gives the population in 'million' format, to 1 decimal |
An important side note here is that I have found it necessary some times to re-order attribute tables in order to get the desired effect in terms of the Atlas running through things in the right order. If you need to do this, install the MMQGIS plugin and use Modify > Sort on a shapefile to achieve this. It works perfectly. Another note is that in later versions of QGIS the syntax for Atlas functions looks a bit different so make sure you are aware of it if you run into problems (e.g. @atlas_featureid instead of $atlasfeatureid, though both work for me in 2.18).
Once you have an Atlas project set up you are ready to export the frames. One thing here that is helpful is if you give the frames sensible, descriptive names. You can easily customise output file names in QGIS Atlas (another great feature of the tool). You can see how I've done this below, using the newer QGIS Atlas syntax. The "NAME" in the image below just takes the name of the current Atlas feature from the shapefile's attribute table and adds it to the file name. You can see the result in the folder where I put all the outputs (see screenshot below). Making sure the files have sequential names can save a lot of time later on because for an animation you need to be able to order the files in the order you want them to appear in the final gif.
 |
| This creates a file with a number, underscore and state name |
 |
| These are the outputs from the QGIS Atlas project |
Okay, so this is basically part one over with. You can create all kinds of things with the QGIS Atlas and of course you don't even need to use this but for a gif of the kind shown at the top of the page this is my typical workflow. See Lesson 21 and Lesson 22 of Steve Bernard's QGIS YouTube series for a different kind of animation approach.
The next step is to patch the images together into a gif. You can do this lots of different ways, but I tend to use GIMP, which is great - free and open source and despite the slightly worrying name you can normally find it online without running into too much trouble. In fact, you may be relieved to hear that it's the first result on Google. I currently have version 2.8 installed.
I'll assume you've installed GIMP and now want to create a gif like the one at the top of the page. Here are the steps.
 |
| File, then Open as Layers... |
This first step just gets all the different layers loaded into GIMP. I've done this with a few hundred layers before and it worked fine but if you're getting into the high hundreds then another approach might be best as you could run out of memory.
If you've used QGIS to give the individual layers sequential names then the frames should all load into gimp in order and you'll see the last one first, and the individual layers listed on the right, as shown below.
 |
| This is what it will look like in GIMP |
If you need to reverse the order of the layers in GIMP, you can do this easily by going to Layer > Stack > Reverse Layer Order. But I want my animation to start at number 1 so I'll keep it like it is.
You could just go ahead and export this as an animated gif, but if you don't optimise it then the file size is likely to be pretty big. Both versions I shared in the online folder are under 1MB (979KB and 530KB) so this step is really useful. Here's how you optimise it: Filters > Animation > Optimize (for GIF).
 |
| It won't reduce the quality but it will reduce the file size |
Once you've done this, a new GIMP window will open up. The only difference here will be that you'll see the same thing as before but a dashed yellow and black box will appear on top of the images - nothing to worry about, that just tells you which part of the image actually changes from frame to frame. Now would be a good time to save your GIMP project via File > Save As...
The next step is to Export the image to an animated gif. You do that via File > Export As... and then it's a case of selecting gif as the image format. If you're not used to this it can be a little mind-boggling but basically you just tick the As Animation box and choose your settings. Here you need to be aware of the delay settings in particular because that tells you how long each frame will appear for. As you can see below, I've chosen 1200 milliseconds for this gif because that makes it last one minute overall (50 frames for 1200ms).
 |
| These are the settings used for the image at the top of the page. |
 |
| In this gif, I used a delay of 1500 so each frame lasts 1.5 seconds |
The other thing to think about is how big you actually want your gif to be. I did a version at 1500x1500 pixels but in general I'd recommend going much smaller than this. The two on this page are 1000x1000 and you can choose whatever dimensions you want when exporting from QGIS Atlas.
The tricky thing with this is trying not to cause some kind of cognitive melt-down on the part of the viewer, which is easily done and in a way is a bit of a risk with the US states population gif here. But of course it's not intended just to be watched once and this is just an example use-case to show you the workflow. But there is a serious point here in that a gif is definitely not the way to go a lot of the time, but I do think it's underused and definitely has a place.
Why would you want to do this in the first place?
That's a good question. Take a look at some of the examples I've linked to at the top of the page if you want to see a variety of different use cases. Some are better than others but all of them tell a story. Some stories are better told in other ways of course. Topi Tjukanov has loads of great examples - with more appropriate data - on this Medium post. If you ask me, a geogif can be useful in the following cases:
- When you want to show movements of things, such as commuters, freight or marine traffic in the Baltic Sea.
- When you want to show things in sequence, alongside some basic data.
- When you want to highlight that there are 'a lot' of something, rather than focus on the individual data elements.
- When you want to quickly compare shapes, as I did previously when looking at gerrymandering in the US.
- When you want to show the geographic spread of something over time, such as house price changes.
- When you want to avoid the work you should be doing and instead feel the irresistible need to create something map-like that moves.
In many cases a geogif will only be an entry point to the data and will not allow users to delve more deeply but in many cases it can be a good way to highlight the big picture, which is still useful thing to do. You can judge for yourself what works, what doesn't and what is and isn't useful. Ultimately, geogiffery can be useful, but it can also just dazzle and confuse, so be careful.
Notes, etc.
Little-known Windows gif fact... If you left-click and hold the mouse button on the [X] at the top right of the Window when an animated gif is in progress, it will pause the gif. Move the pointer off the [X] and unclick to continue. I know of no other way to do this. Sometimes you can pause gifs on twitter, at least on mobile devices.
The shapefiles I use here are from the US Census Bureau Geography pages. The 2017 state population data used in the geogif here is also from the US Census Bureau.
Washington, D.C. is not a state so I didn't include it above but it had an estimated population of 693,972 on 1 July 2017.
I added the QGIS logo to the gif just to highlight the fact that this was done in QGIS.
Alaska and Hawaii are of course not to scale.
"Hey, I don't like red. Can you do a blue version?"
 |
| Yes, you can have a blue version |
Update: this post was update on 29 December 2017 because the original gifs I posted here contained some errors (order of frames - e.g. Florida and New York were in the wrong order, though the data was correct). I have also updated the Google Drive files and they now contain five different versions of the blue and red gif each, at different speeds (from 1 second per frame up to 2 seconds per frame).
I have also uploaded two QGIS projects in zipped folders - one each for the red gif and blue gif. All the frames are there too, at 1000x1000 pixels.
In the text above I have explained how I re-sorted the state populations shapefile to make sure the Atlas iterates in the right order. You don't have to do this (e.g. I think @atlas_@atlas_featurenumber can be used) but I found it easier just to re-order the shapefile, particularly as I was working with copies of the same layer.